Friday, 27 July 2018

Week 3

 Wow week 3 already! I am keeping myself to a tight, planned out schedule, so I know I am on track but I still feel a little nervous when anyone points out that midterms will be coming up soon! Next week will be my last week working on the smaller shots for my reel.  After that I will be moving onto my large Victorian town shot which will be a big challenge to get into engine in only 4 weeks but I think it will add to my environment portfolio significantly.

Ooh I love making assets to much!  After such a long time of working with large scale scenes, complex environment textures and a lot of procedural stuff it is so nice to come back to the warm and comfy world of prop modeling!  I am trying to push my polycount as low as possible so I can use lots of the same prop in a scene without slowing it down.

I up rezed the grass and yarrow textures for my intro shot using textures from Megascan.  I also built a lot of color correction variables into the shader network to ensure I could get the right feel for the intro.
This was a very fun prop! its the hand lantern that goes in the front of Cyrus' sail boat.  which you can see the light from in the below image.
 This shot was a bit easier than the last and I am starting to get a hang on lighting in Unreal.  There was more I wanted to do with the reflections in the water but they are created using screen space reflections.  So I can't just aim lights at the water.  I might be able to figure out some other tricks but for now this is where I am going to leave it for a little while.  Though I am going to make the ships sails dynamic soon, its been on my to do list since last term :p
My first pass at the stylized character midterm Just taking it to block out for the first week before I start refining any of the shapes.  The method we are using is slow going but I think I have made a good start.  Looking forward to this weeks class to see how to move forward.  It was a tricky decision to decide whether to do 2 pieces or spend the whole term working on one.  I think I made the right choice going for 2 pieces though since with this kind of sculpting the less you nudge it around the better it looks and this one is already looking kind of lumpy :p I hope I will have the technique more nailed down before I start the final.

Saturday, 21 July 2018

Demoreel begins!

Wow I was expecting Demoreel to be intense and I am not dissapointed!  I guess since the majority of the week is self directed, its as tough as you want to make it but after last term I feel like I am slacking off if I don't clock a solid 14 hours or so :p

I am going ahead with my in game cinematic reel focusing mostly on environment but also showcasing all my other skills: character, vfx, props, blueprinting etc.  I know it is a dangerous area because it runs the risk of looking too much like a generalist reel but I know my focus will be environments and I hope that will come across.  I guess the main reason I am pushing this is because I love storytelling and the Bitteryarrow story is becoming so real to me that I want to use everything at my disposal to showcase a small piece of it.  We will see in time if this was a terrible plan or not but I am pretty confident I can craft some awesome environments and still find time for the rest :p
I started this guy over break as the playable character returning to Bitteryarrow to face off against Leyla.  I am pretty amazed at how fast I was able to get this done! It's not quite as complicated as my character from last term but still I did this in about 4 days from gathering reference to baked low poly! Just have to texture him now and I will be able to use this model for my Game Creation 3 final.


There are a couple of quick scene setting shots I want to do and this guy from waaaay back in Creature Modeling was perfect! So I did a quick retopo and uv.  Nothing special since he will not be the focus of the shot.

OMG this thing caused me so much pain!! I wanted to do a very close up shot of my environment pieces from last term.  Trees, grass cards textures etc and I though it would be a simple job to create a high rez model of a yarrow flower! Had the base done in under an hour but I overestimated the polycount Unreal could handle for a rigged mesh and I wound up rebuilding the flowers about 3 times before I could get them low enough to go into engine :p  It works now though yay!
I used a bit of my rigging knowledge from last term to set up a hair folicle based dynamic skeleton chain.  Basically it means you only need to wiggle the base of the flower with a couple of keys and the IK splines move with their own built in drag.  Saved a lot of time when I was trying to create my own wind blown animation.

I also had a bit of trouble with ultra dynamic sky last term.  It had a tendency to turn off all my lighting and over-crank my fog as soon as you simulate or run the game.  I really liked all the control from UDS but I couldn't have it making my scene so unstable so I wound up building my own custom sky control with some of the same functionality e.g scale-able moon, sun, clouds, customisable colors and fog and if you move the moon and sun in the sky the directional lights match the same angle.

Here are some shots from my first pass at camera animating in Unreal. I tried out the sequencer system built into Unreal and it may not be as tidy as Maya but for an in game engine animation system its awesome!!!
I made some dynamic grass cards that don't rely on the in game wind just so I could get that extra control for the cinematic. I also made a very simple particle effect that spawns little lights that rise up from the grass.  I may be adding one extra shot to hint at where these lights come from but I don't want to do too many fx shots.
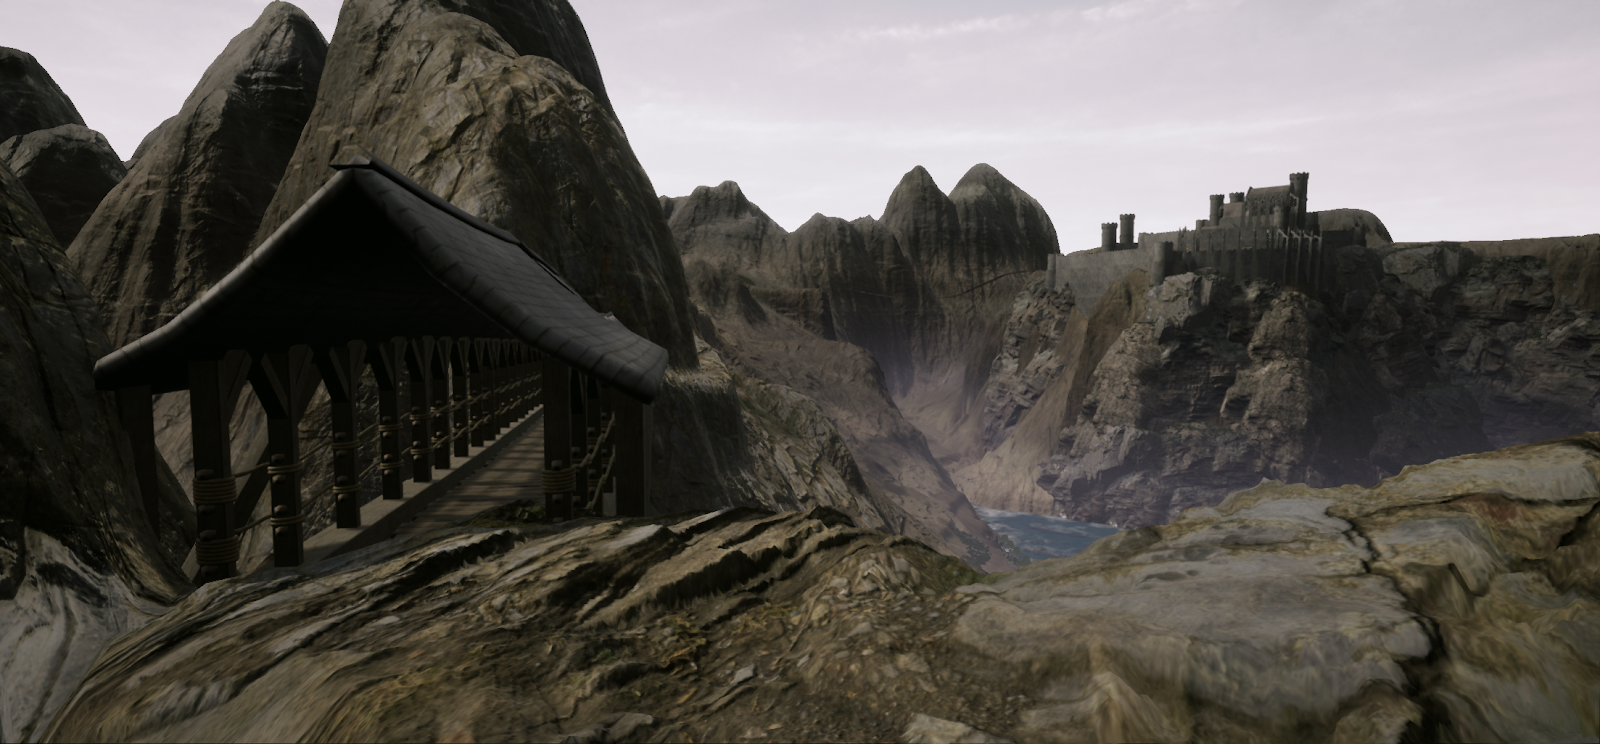
I think I will be re-doing Bitteryarrow castle or at least improving this model.  I want to change the silhouette to make it feel more imposing and sinister, right now I think it blends in too much with the cliff side.
I have also been getting back into Substance Designer this week trying to remember how the program works in preparation for the next couple of shots I have planned :)
Lastly I blocked out the main characters weapon too.  I wanted a fantasy style but also dynamic weapon.  This mace has 3 stages - Compact, mace shaped and open.  I want to have the last step feel kind of like the activated state of the Tonitrus from Bloodborne. So when the character needs that extra level of power the mace will open up revealing the power core, greatly increasing its damage but making it very unstable.  

Game creation 3 and Stylised character are going well.  Thankfully they have been quite light for the first week but I am expecting them to ramp up pretty soon!  For the stylised character midterm I am planning to do a bust of Jinx from League of Legends! I am really looking forward to doing some stylised stuff! I love both realistic and stylised but we have so few opportunities to do stylised stuff at Gnomon and actually get help doing it!

Saturday, 23 June 2018

Finals!

Wow that was a really tough term!  I just about survived the 11 weeks and I am so ready for a break now!  Can't believe I'm going into demo reel next term it feels so surreal.

So this is a bit of a throw back to week 8 or so when I was working on the card hair for my character. I still have some work to do on it now but it has been quite fun actually budgeting time to learn Xgen and realistic character hair.
I wound up redoing the braids and cutting down on some of the mess of this pass at the hair.  I think for the final pass I will be trying to use Xgen to actually place the remaining cards where before I was placing them by hand myself.
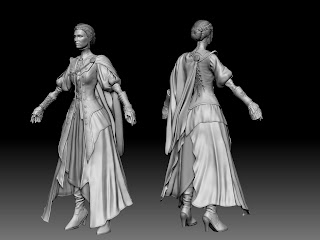
Some final tweaks on the Zbrush model before I moved onto retopo and texturing.
I was mostly focusing on slimming down a lot of the shapes and keeping the overall feel more elegant and streamlined since that matches her character.
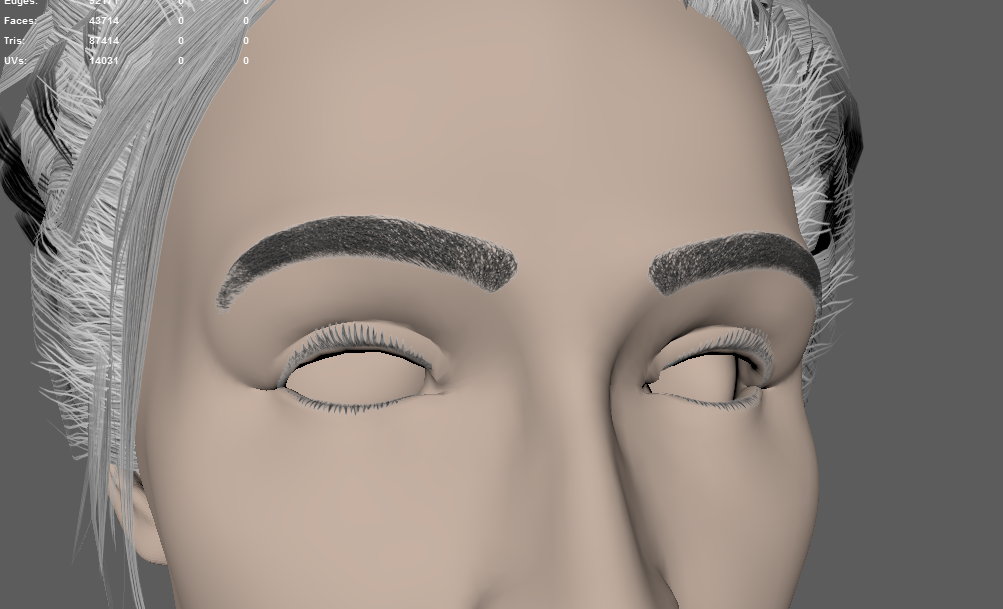
The face topology Eric taught us was waaaaay denser than I was expecting but this is around the polycount that was used for the new God of War game I think it almost looks film rez but it makes the baking stage a lot easier.  I may build a rig for this character so I look forward to doing some blendshapes with this mesh too :D
Here is the reference from Bloodborne
 Here is my final hand in for Character for Games.  There is still a lot I want to do to improve some of the textures, materials and shapes since I will be using this for my demo reel but I have to move onto other things for now.  Still I am really happy with the level I was able to get this piece in the time we had :)  I also have a turntable you can check out in my Google Drive Folder .


 Here is my final for Game Creation 2  I will be using this piece in my demo reel too so it definitely needs  a lot more work but as a starting point I am very happy with where it is and with a few more weeks of development I think it will be in a good spot.


 VFX ended on a high as I won the final competition yay!! It was a bit of a pain timing everything but with a couple of nights of very little sleep I managed to bring it all together and get the look I wanted.  There is still a few tweaks I want to implement since I hope to use this effect in my demo reel too!  Check out the full animation in my Google Drive Folder .
I also never posted my beam assignment for VFX but I had quite a bit of fun quickly mashing this little guy together rigging and animating him to be the emitter for the beam effect :) again check out the Google Drive Folder to see the full animation.


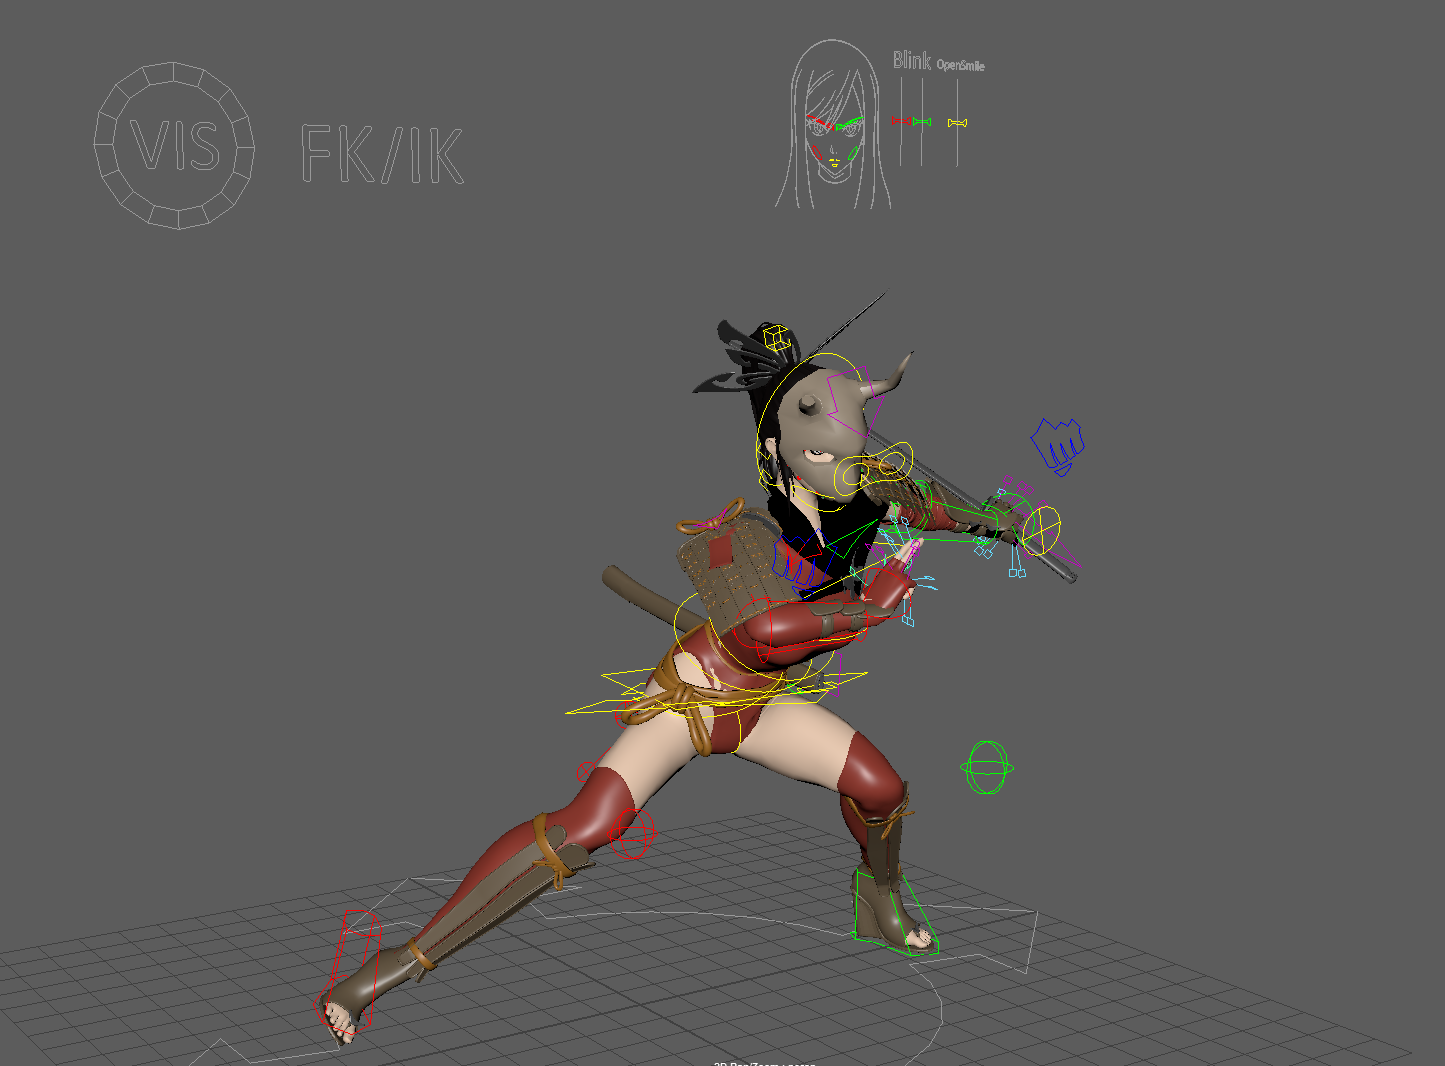
My final for rigging went well and I hope to reuse most of it for my demo reel characters too.  Towards the last few weeks we focused on some extra techniques like quadruped rigging, twist joints, extended cloth etc.  It wasn't too hard to put the final touches on my rig but I did set up links for the props so they could be parented to multiple positions on the mesh.  When it was all finished I played around with posing the character a little to see if the rig would have any unexpected issues and thankfully I didn't run into any yay!!


Houdini just fell apart in the end I didn't have the time or patience to finish off the renders but I learnt just enough to use Houdini for creating landscapes and maybe using it in the future.
I created this piece using Houdini and Zbrush then baked it down onto a game rez model to use in my environment for Game Creation 2.

Here it is in Engine with some tillable textures and foliage

Thankfully I had an extra week just to work on my Advanced Zbrush and with all the time that VFX character and game creation needed I really benefited from that extra week.  Its been an amazing class and I feel that I have a much greater understanding of Zbrush now :) which will definitely come in handy moving into demo reel.


So yea that was easily the toughest term at Gnomon yet but we all survived and now its onto demo reel super exciting!  I have a rough idea in mind for exactly what I want out of my reel and I plan to put together a little shot by shot block in to get a feel for how it will work.  It simultaneously feels so long ago that I was starting my first term at Gnomon and at the same time like I have been here for ages! anyway I hope everyone has a great break and good luck to us all moving forward.

Saturday, 19 May 2018

Week4-6, Midterms done!

Looks like its been a while since I posted an update but here are my projects now as we all move into week 7!

I have been following some Houdini tutorials trying to get a better grasp of the program and even though I cant get anything to look good I do see the appeal.  These rocks and corresponding fiber crystals are all dynamically modeled which could be a helpful tool to use in the future combined with procedural scattering, uv'ing and decimating.

For the Midterm we are building an procedural envrionment.  I still dont know how to render well in Houdini but generating this mountain and scattered trees, clouds and rocks wasn't as hard as I expected.  I think if I learn a few more terrain tools in Houdini I won't need to use World Machine any more.
Game Creation 2 is coming along, though I had a major setback mid week 5 as I couldn't get Unreal to display 3 materials on the terrain mesh without crashing :(  Tried everything I could think of and in the end I got some help from our instructor and it's all fixed now yay!!! (as it always is in Unreal it just needed one button or drop down menu changed and it all worked fine)  The base environment is done so the next few stages will be adding foliage, rocks, and buildings.  Then after that I hope we will cover some more lighting and post processes to make it all look pretty! I know I've had a few classes in how to light well in Unreal but it's still a difficult process I want as much practice as I can get!

 I also played around in Speedtree (which marks the 3rd new program we have had to learn this term :p)  It's a really nice piece of software and gives great results really fast!  Once I have LOD'd these trees and grasses I will be able to scatter them all over my environment.
As always learning some pretty cool new tricks in Zbrush this term with Paul.  I am still holding back on the final for just a tiny bit longer till he covers Sculptris Pro next week then it's all engines go in a race to get my final done.  This week though we experimented with the Zmodeler brush to do some Maya like modeling.  It's pretty good even if the interface and controls can be a little confusing but I am definitely going to use this more regularly now that I know how powerful it is!
 We have covered facial blendshapes IK spines and IK FK arm and leg switches in Rigging now.  That pretty much marks the extent of the stuff I was already kind of familiar with after last term, next week we will be covering cloth and costume rigging! I am really excited for that!
 
Character for Games has been taking up the lion's share of my time these days but I am really enjoying the results!  I have pretty much finished the costume sculpting barring a few little tweaks here and there and the face is really coming along too, thanks to a lot of help from my classmates and instructor!  I am trying out carded hair for the first time too which is really fun but very time consuming! I spend the entire day yesterday just placing cards for my characters hair! and I still think its going to take another hundred or so to really flesh out the style properly!
I built the cards using Xgen, which is very straightforward in terms of actually generating hair but a real pain apparently for moving files around different computers.  I tried to take my Xgen files to Gnomon to render out the hair cards on 3 occasions before I managed to get it to properly load in the Xgen files :(


This is how the hair looks atm just previewing the AO pass on the cards to help with placing them.  Once I am happy with the layout I will take the model into Marmoset or Unreal and see how the cards look with their whole material working.  Then I can set up a back and forth while I add new hair cards to fix up the final look.

So wow all in all I am still just about surviving this term. It's been really tough so far and there are still 5 weeks to go but I can see the faint glow of the light at the end of the term 10 tunnel! good luck everyone