Tuesday, 15 September 2015

Porfolio Update 3: Real Time Renders

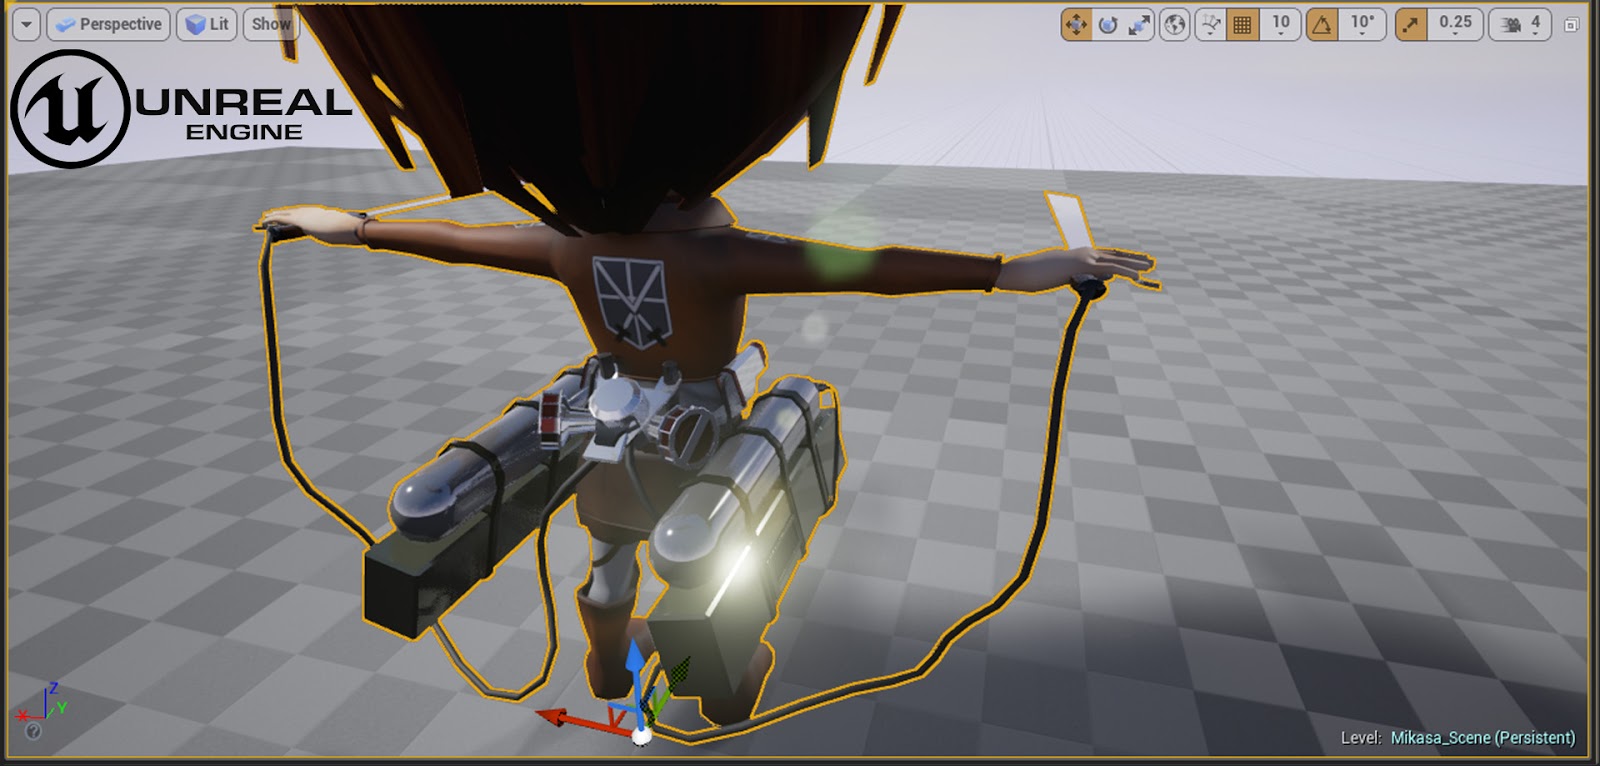
I think this is the first ever post I have done showcasing a real time render prop :p  For those of you who don't know real time rendering means no extra time is spent by the computer to calculate the final look of a scene or model.  This is used for games mostly since all the action has to happen instantaneously.  Movies and animation however tend to use rendered images which means computer time has previously been spent calculating light bounces, reflections, refractions etc to make the image look more realistic.
This prop was actually modeled a while ago.  I built her for the first week of my character modeling course at Gnomon.  I was binge watching Attack on Titan at the time and I really liked their outfits! but I didn't have enough time to model a realistic version of one of the characters so I built a Chibi style version of Mikasa.  It was really fun to go back to this model and tweak the modeling a little and bring her all the way through to a textured asset.  It was a little tricky but I managed to get a model through Substance Designer (Material building program) into Unreal 4 (Game Engine).  At some point in the future I hope to take a model even further by adding animations and control but that will be a job for future me! For now I will be getting back into Substance Designer to work on my Enigma Machine.


Tuesday, 8 September 2015

Portfolio update 2: Bella in Color!

OK second upload.  This one was a little trickier than the desert fortress not in terms of painting or anything that was pretty fun actually but going back to 2015 Maya broke a lot of my characters materials like the skin and hair shaders.  I think I will try and fix these at a later date but for now on to the next one :D

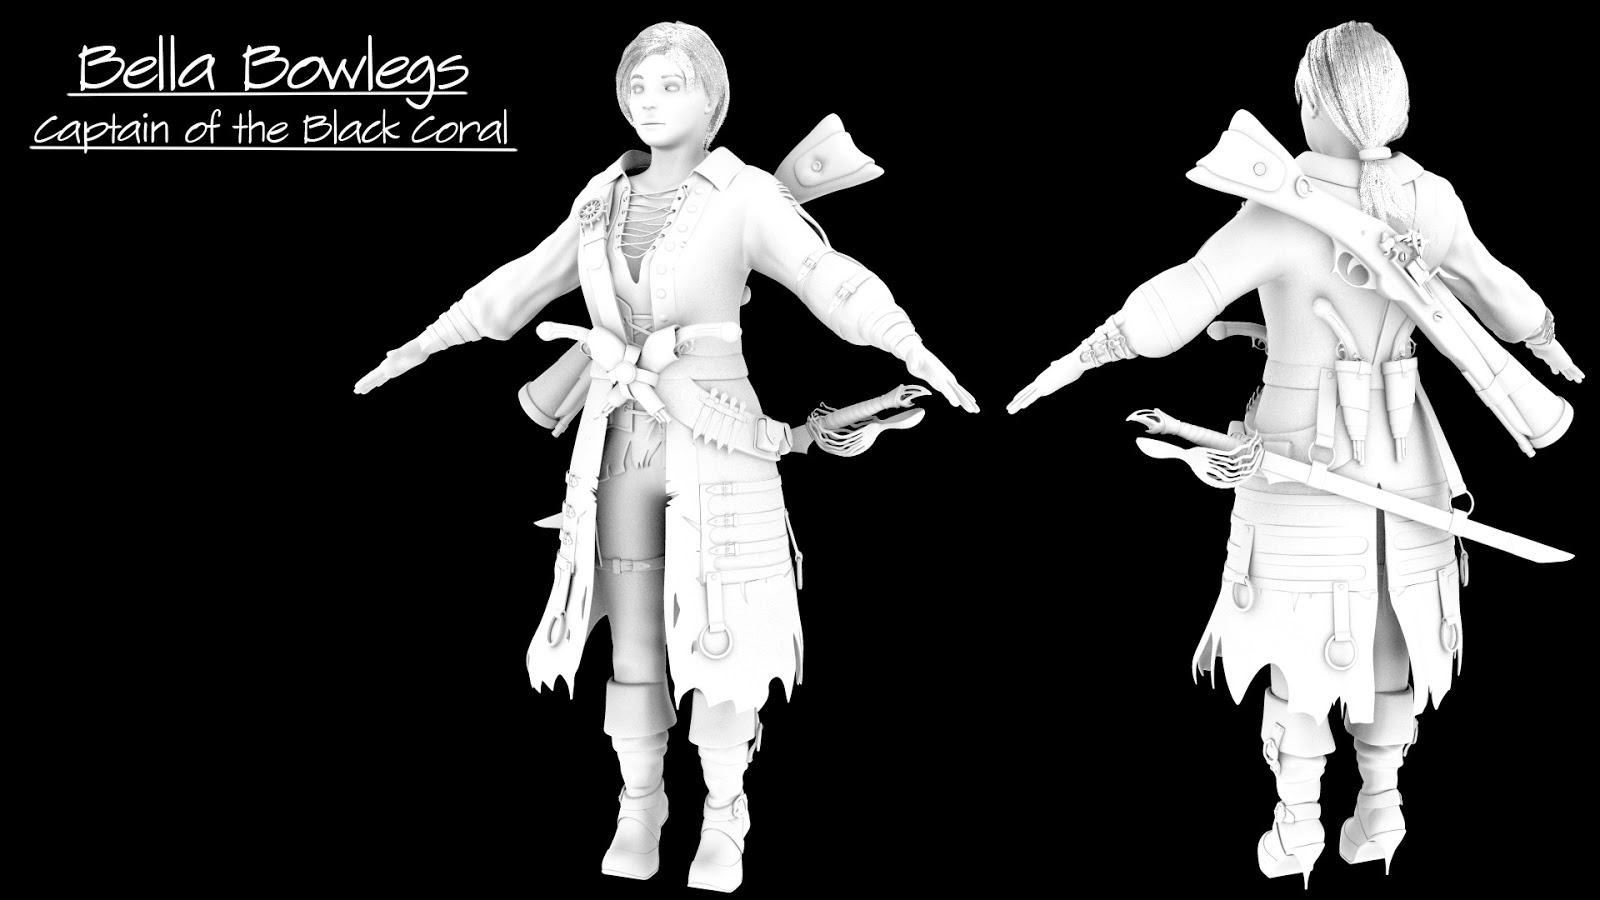
So for those of you familiar with my work the character in both of these shots is Bella from my Character design online course with Gnomon.  Since finishing the 10 weeks of modeling I have textured her and played around a bit more with the hair system which is just so cool I recommend it to anyone who doesn't mind the cost its really fast and can produce some great results.  Don't take these renders as an example somewhere between me actually building the hair in Maya 2016 and rendering it in 2015 a lot of the connections got messed up but check out this link to see what GMH2 is capable of GMH2 hair.
The background was a mini environment project I used to get a little more familiar with texture painting in Mari.  Painting a lot of basic models really let me get to grips with the layered workflow and integration with Maya.
There is a little bit of a story behind the piles of coins though.... A long time back I actually did a little gif of a pirate treasure chest filling with coins coins!!.  Try as I might I just can't get Maya to generate a cascade of primitive objects like you would imagine in a liquid simulation.  I have tried physical emitters but even with letting Maya run for like 45 minutes churning out one coin per second and calculating all the forces (it turns out you can only simulate these with spherical collier meshes hmm...) there doesn't seem to be a way to actually convert the resultant piles of coins into actual geometry.  There are a few scripts out there that promise this but I couldn't get them to work.  So the work around I used for the treasure gif a while ago was to create a lot of coins hovering in space and just drop them and let Maya churn away, much to her distress I am sure, working out all the collisions.  Still for this one there was just toooooo many coins.  Despite the long time it was taking to actually simulate the coins I was determined to find a way without actually placing each individual pile the long way.... Fast forward about 3 determined but ultimately fruitless hours and I finally bit the bullet and just did it the long handed way which only took like 20 minutes opposed to the several hours I had spent trying to do it a smarter way :p oh well live and learn!
For me there is still a tonne more I would like to learn about texture painting and material design I am slowly starting to piece it all together but there is still a ways to go.
It was so fun for me to take Bella through to a textured state, I hope you all enjoy the final look!
Thank you for reading this far :)

Monday, 7 September 2015

Portfolio Update

Its been quite a while since I have posted anything but here is one of the few projects I have been working on for my showcase Portfolio.  Some of you may remember this one from my Environment Modelling course well its all pretty and in color now :) yay!  After battling and I really mean battling in like the most serious way with rendering in Maya 2016 I finally gave up and reverted to 2015 for this piece.  I have also been playing around in Substance Designer which produces some beautiful materials which I will be playing with for my game props later on but for now here is my slightly more basic Maya rendering skills. enjoy!


So this is one of about 13 projects I am currently working on :p I will hopefully be posting a few updates over the next few weeks showing how the other projects are turning out :)  I have a couple more environments, a new character, some cool props, the Willys Jeep and a little work on my adventurer Goblins! so now I have to decide which one to work on next... hmm... oh yea I am also putting together a 120 page sketchbook, while I get back into drawing by hand, almost forgot I should probably go back to that for now.. ok bye :)

Saturday, 18 July 2015

WIP Jeep

Ok :) so here are a couple of Work In Progress (WIP) pics for my recent project.  I started this one waaaaaaay back before I started my Gnomon online courses.  It was a little crazy going back to it having spend a few months studying at Gnomon but the difference in skill level really hit me as I was able to very quickly fix all the issues that were slowing me down before and race ahead.  So I will be UV'ing and texturing this piece for my showreel in the future but for now I will be starting my next portfolio project a game prop.


Friday, 3 July 2015

Here I go!

OK so I finished my last online course at Gnomon and now it's time to bite the bullet and start putting together my portfolio!
I got some great advice from Devon during my last class and now that Jen has moved to LA to study at Gnomon I will be working flat out to finish my current projects and build an awesome showreel!! :D
I saw some amazing work displayed in the Autodesk CG Student awards and that has totally inspired me to really pick up my game and work on something amazing!
Wish me luck, here I go!

Sunday, 21 June 2015

Environment Modeling Final

We had a double class this week from 3 - 7:30am which was a little tough but we covered some really cool topics from tree modeling to lighting and rendering and then went over some portfolio/website advice! It has been a pretty intense few weeks leading up to the Environment Final.  I had a little trouble nailing down the final composition but I am genuinely and pleasantly surprised with the look of this hand in!  Composition has never been a strong skill for me.  I usually get a rough idea of what I think looks good and just run with it desperate to get the bulk of work to a good level.  For this however we were pushed to question the composition a lot and keep tweaking it till it really looked good.  Its a practice I hope to use for all my work from now on.
There is still plenty to do to this image with regards to adding more intrigue and detail.  I want to redo the palm trees entirely but also just break up some of the more obvious CG'ness that comes from some of the perfect symmetry and crisp lines some of the props have.  The catapults especially were pointed out as being too perfect.  A few extra details and maybe damage would make the whole image more believable.  Then its on to texturing.
So that's it for me and Gnomon for a bit, my next challenge is to finish my last two finals up to a show-reel ready quality and build a few more show-reel pieces and then wish me luck because I will be looking for my first job as a Junior Modeler!!! :D

Thursday, 11 June 2015

Gnomon CharacterModeling Final

So its been an amazing 2 months I have learnt so much and I am really happy with the end result!
I spent about 7 weeks just working on the topology of the base mesh, sculpting in the muscular form and adding skin detail etc.  It felt kinda slow compared to my previous Gnomon course but the last 3 weeks we learnt a little about fabric modeling and costume design.  When I got to this stage the development just exploded and started to look real! I did wind up hiding around 90% of my character sculpting work :p but it was still a great learning outcome.  I was getting a little worried 1 week ago before I finished up the jacket and extra props since it was looking a little bare and simple but one more week of work and it all came together!
The last few classes focused on hair and blend shapes (blend shapes are a tool animators use to do facial expressions) As for hair the first image below shows the base strips the hair is projected onto (this is low poly enough to be fed into a game engine and animated) The tpose image (3rd image down) shows how the hair looks when there is a texture applied to it and how it would look in game.  I had never modeled hair this way before but it is a really cool workflow and I really look forward to working on my next project and hopefully taking it all the way into a game engine!
So here it is the final renders for my submission for Character Modeling with Kevin Hudson.  I totally recommend this for anyone who wants to really get a grasp on how characters should be done for animation or games! check out these online Gnomon Courses if you are interested.


This is my posed shot rendered in Keyshot based on the beautiful concept piece below by Changming Xu (http://www.inspirefirst.com/2013/05/31/conceptual-art-changmingxu/)  I made my character a little chunkier than the reference since when I was sculpting the base character she looked more realistic with some muscle mass :p  I also let the jacket sit a little looser rather than quite as form hugging as the reference again it just felt more akin to the character I had in my mind.


This is the unposed (T-pose) mesh that all the development was done on.  This pose is used for modeling because it makes it much easier to rig (build a skeleton to allow animation)  You can also see the rendered hair in this image which was done using ThunderClouds GMH2 plug in which I very much recommend! A great and very easy to use tool.


This image shows some very rough color being applied to the character.  None of the props have been UV'd or textured yet this is more of a visualization shot to get an idea of the overall color and materiality of the character.


This last shot shows the high poly wireframe.  As you can see its pretty dense.  This would actually be ok for an animation for film etc. but if this character was to go into a game the mesh would have to be reduced to about 1/10th of how it looks now.